
UV Unwrapping
Well I won’t lie, this is always a bit of a slog but it’s done and I do quite enjoy it weirdly!
I’ve finalised all the meshes, removed any extraneous edge loops and back faces etc and generally tidied it up.
This is going to be highest level of detail, so I’ve got the mesh at a level where it’s visually acceptable at all but the closest viewing distance. Because of the nature of the object and I’m using substance painter I’m going to be using mainly projection techniques, tri planer, planer etc. to texture so I’ve not worried about rotation and manual layout and just focused on minimising stretching and getting a consistent pixel density.

I’m using a UDIM workflow for this LOD, I’ll do a different unwrap for lower LOD’s, because I’ve averaged out the pixel density nicely I’m going to be able to paint over the UDIM’s seamlessly for grunge etc. later.
Next I’ve quickly imported the model into substance painter and done some basic bakes as a test to double check my unwrapping and modelling before I get to far down the texturing path. AO and Curvature are great for highlighting issues. So far so good, next steps is to create ID maps for the core materials then it’s time to start texturing.

ambient occlusion bake

curve bake
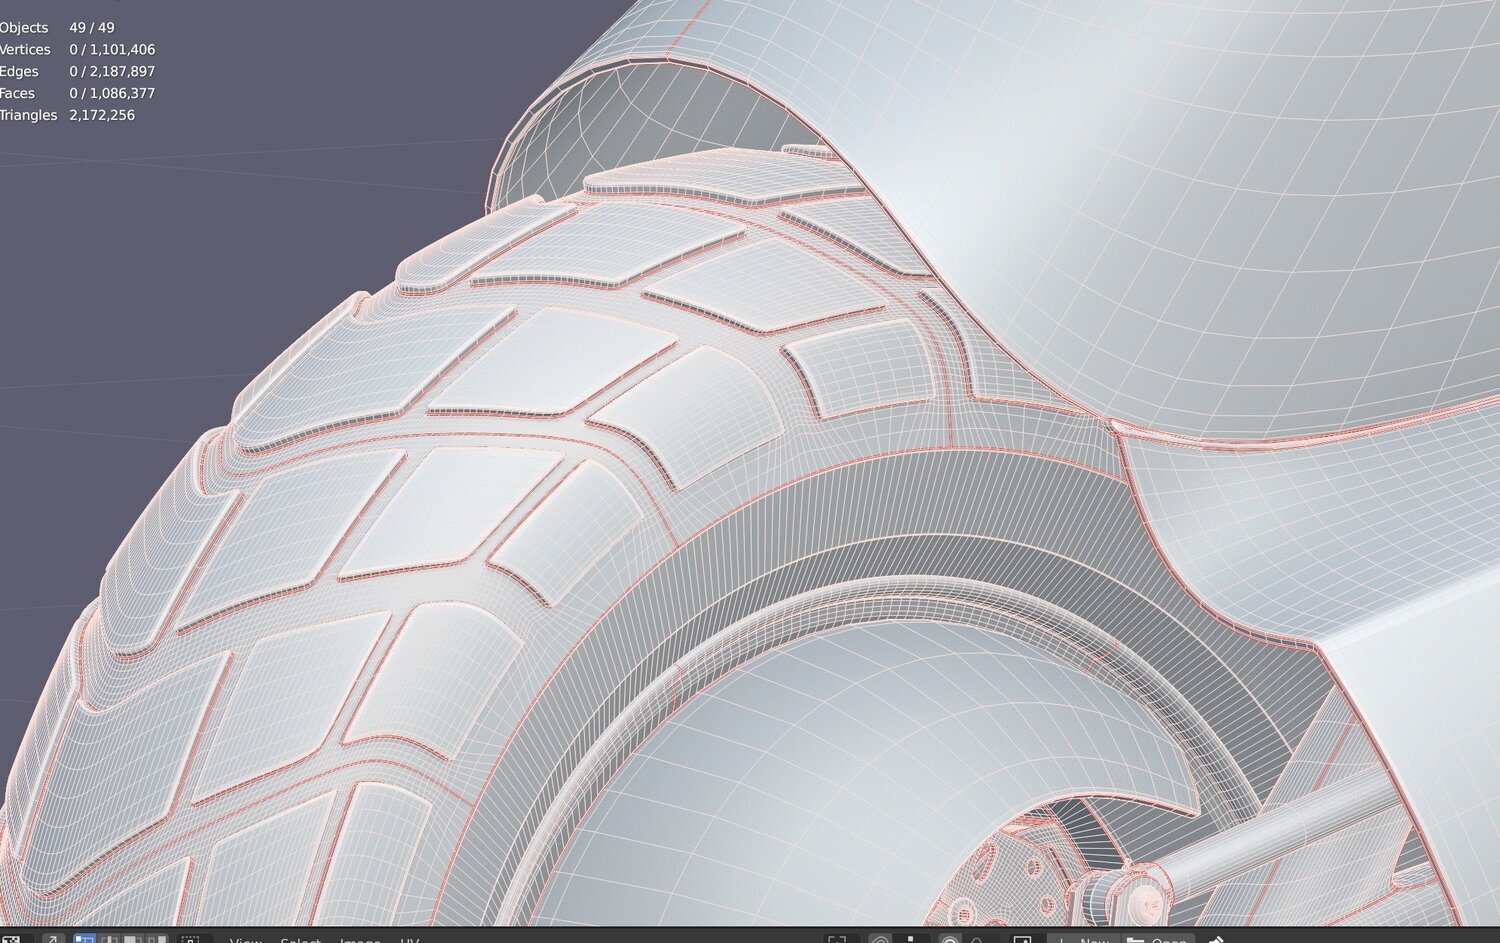
wire frame and seams